Low Pitch Roofing
Crest Nelskamp Low Pitch Roofing Advice
Finding a roofing solution for a low-pitch or a complex roof can be frustrating and confusing. Crest’s high-quality range of roof tiles offers solutions that allow you to easily design roof pitches from a minimum of 10°. All design considerations and the roof installation should always comply with BS 5250 Management of Moisture in Buildings, BS 5534 Code of Practice for Slating & Tiling, and BS 8000-6 Workmanship on Building Sites Code of Practice for Slating & Tiling.
1. Roofing Underlay
Use appropriate air and vapour permeable underlay, which does not require secondary roof ventilation. Lay the roof underlay to the manufacturer’s instructions.
2. Roof Tile Gauge & Headlap
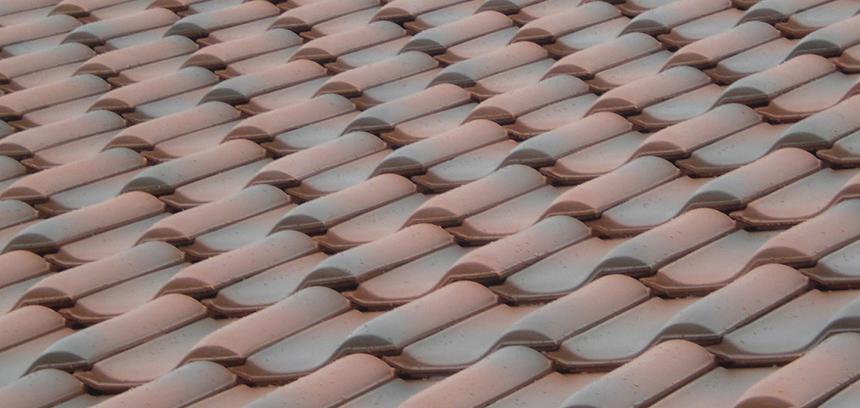
Crest Nelskamp has a range of Clay roof tiles which will perform at roof pitches to a minimum of 10 degrees, (G10, H10, H14, F12 & F8.5) with a maximum rafter length of 6m. All of which need to be laid with a minimum 100mm Headlap.
Crest Nelskamp concrete roof tiles can be used at a minimum pitch of 15 degrees.
The *Planum should be laid brokenbond, The Planum Duo should be laid quarter broken bond and Double Roman & Double Pantiles are laid straight bond, with a minimum headlap of 110mm. A rafter length no longer than 7.5m for the flat tiles, Planum and Planum Duo at 15 degrees. Please find out more information on our roofing tile data cards.
3. Fixings
All clay and concrete roof tiles should be mechanically fixed using Crest’s purpose-made stainless steel tile clips. Do not nail the tiles at 17° and below. The local areas around the roof perimeters and abutments must be securely fixed to BS5534, including roof windows, chimneys, etc. Site-specific fixing specifications are available from Crest on request. Fixing specifications may vary due to roof pitch and location.
4. Eaves
Simple to install an eave closer or comb is a quick and effective way of preventing birds and insects from entering the counter batten cavity. They are fixed directly into the bottom of the counter batten at the eaves or onto a continuous edge batten along the complete perimeter length of the eaves.
5. Ventilation
Always ensure adequate roof ventilation is installed in accordance with BS5250. Fix a 25mm fascia vent on top of the fascia board and allow 10mm continuous ventilation at the highest point of the roof.
6. Support Trays
At the eave use a good quality PVC support tray, 1.5m in length. These are quick and straightforward to install, ensuring the breather membrane fitted under the roof tiles is not carried into the gutter. It will help with long term maintenance at the eaves, does not deteriorate, prevents the membrane from being exposed to UV degradation and avoids ponding behind fascia’s which can cause the membrane rot.
7. Verge
At the verges use the matching colour of the Crest cloaked verge purpose-made tiles. These are mechanically fixed and do not require any mortar giving a tidy and maintenance-free solution.
8. Dry Ridge System
All dry fix systems that are used, like ridge, top abutment vents, verge, etc., should be BS8612 accredited and fixed to the manufacturer instructions.
9. Valleys
The minimum recommended pitch for a lead-lined valley is 11?. Further design advice can be obtained from the Lead Sheet Association, email [email protected].
For GRP valleys please refer to the valley manufacturers recommendations.
*As per European trademark Nr.7287956, filed on 2nd October 2008, the Trademark PLANUM belongs to LaEscandella. It is Dachziegelwerke Nelskamp as authorized licensee of the owner allowed to use the mark PLANUM for its concrete product.
G10 Large Format Flat Clay Tile
As the G10 is the perfect flat tile for low-pitch roofs, we recommend that these fixing practices are followed:
Low roof pitches 17°-10°
- Use appropriate air and vapour permeable underlay, which does not require secondary roof ventilation.
- Lay the roof underlay to the manufacturer’s instructions.
- Lay G10 tiles broken bond.
- Headlap minimum 100mm.
- Maximum rafter length 6m.
- All tiles are to be clipped with purpose-made tile clips, reference 409/215.
- Left Hand Verge tiles are to be fixed with a 45mm tile fixing screw with a neoprene washer, also fix verge clips if mortar bedding the verge.
- Roof perimeters including around roof windows must be securely fixed to BS 5534
All areas around the roof perimeter and abutments must be properly finished as well as any areas around any ‘velux type’ windows. (These are the areas where potential problems are likely to occur on a low roof pitch.)
H14 Interlocking Clay Pantile
As the H14 is the perfect interlocking clay pantile for low-pitch roofs, we recommend that these fixing practices are followed:
Low roof pitches 17°-10°
- Use appropriate air and vapour permeable underlay, which does not require secondary roof ventilation.
- Lay the roof underlay to the manufacturer’s instructions.
- Lay H14 tiles straight bond
- Headlap minimum 100mm
- Maximum rafter length 6m
- All tiles are to be clipped with purpose-made tile clips, reference 409/223
- Roof perimeters including around roof windows must be securely fixed to BS 5534
All areas around the roof perimeter and abutments must be properly finished as well as any areas around any ‘velux type’ windows. (These are the areas where potential problems are likely to occur on a low roof pitch.)
F8.5 Clay Pantile
As the F8.5 is the perfect interlocking large clay pantile for low-pitch roofs, we recommend that these fixing practices are followed:
Low roof pitches 17°-10°
- Use appropriate air and vapour permeable underlay, which does not require secondary roof ventilation.
- Lay the roof underlay to the manufacturer’s instructions.
- Lay F8.5 tiles straight bond
- Headlap minimum 100mm
- Maximum rafter length 6m
- All tiles are to be clipped with purpose-made tile clips, reference 409/213
- Roof perimeters including around roof windows must be securely fixed to BS 5534
All areas around the roof perimeter and abutments must be properly finished as well as any areas around any ‘velux type’ windows. (These are the areas where potential problems will likely occur on a low roof pitch.)
Planum and Planum Duo Concrete Flat Tile
Low Pitch Roof Specification 17°- 15°
- Lay Planum tiles broken bond.
- Headlap minimum 110mm.
- Use appropriate air and vapour permeable underlay, which does not require secondary roof ventilation.
- Lay the roof underlay to the manufacturer’s instructions.
- Maximum rafter length 7.5m.
- All tiles are to be clipped with Crest purpose-made tile clips, reference 409/202. Do not nail the tiles at 17° and below.
- Roof perimeters including, abutments and around roof windows must be securely fixed to BS 5534.
Planum Concrete tiles should be fixed broken bonded and in accordance with the latest manufacturers' recommendations and to BS 5534: British Standard Code of Practice for slating and tiling and BS 8000: Part 6 British Standard Code of Practice for workmanship.
Double Pantile and Double Roman Concrete Tiles
Low Pitch Roof Specification 17°- 15°
- Lay Double Pantile straight bond.
- Headlap minimum 110mm.
- Use appropriate air and vapour permeable underlay, which does not require secondary roof ventilation.
- Lay the roof underlay to the manufacturer’s instructions.
- Maximum rafter length 7.5m.
- All tiles to be clipped with Crest purpose-made tile clips, reference 409/002. Do not nail the tiles at 17? and below.
- Roof perimeters including, abutments and around roof windows must be securely fixed to BS 5534.

